How To Make Crusty Homemade Italian Sub Rolls
We may earn money or products from the companies mentioned or linked to in this post.
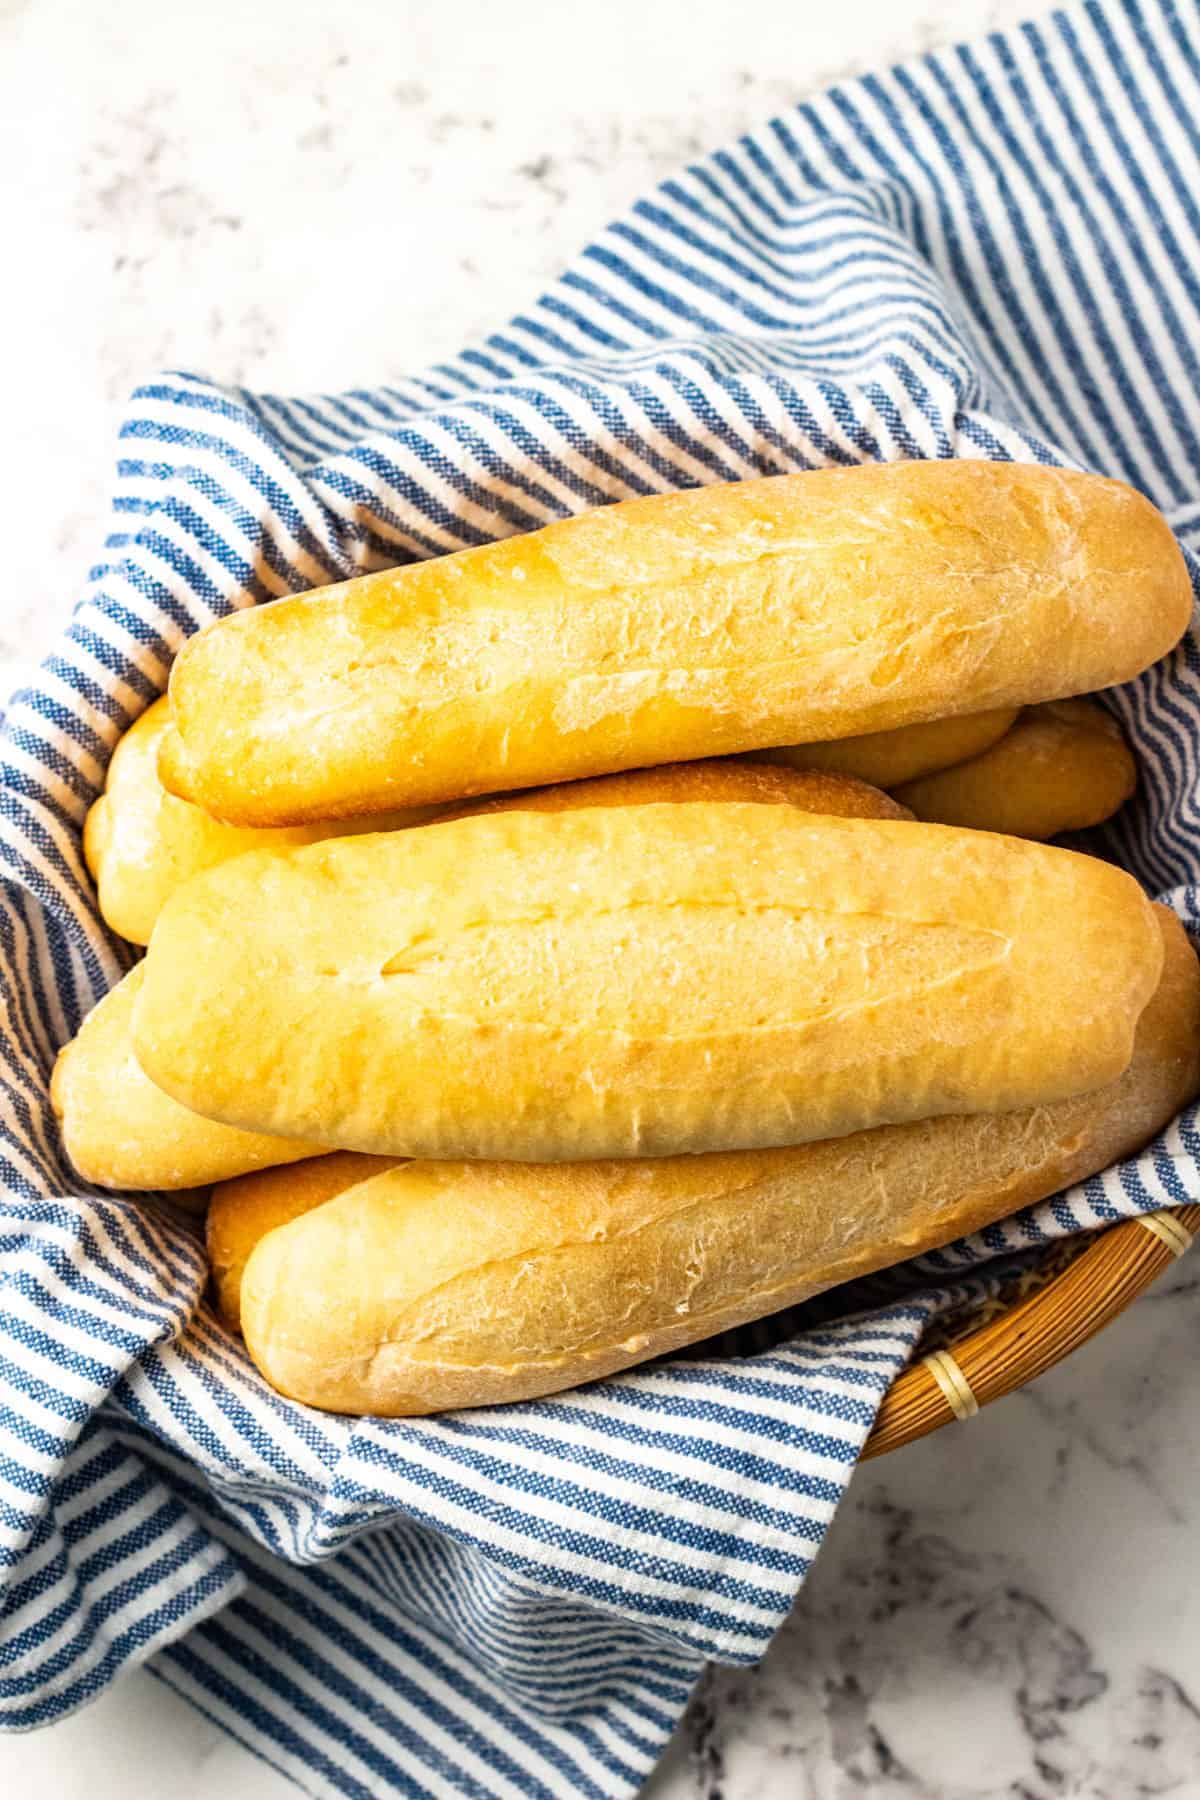
Homemade Italian Sub Rolls- a warm, fragrant, tender bread roll surrounded by a crusty golden outer layer can only describe the perfection of chewy Italian rolls.
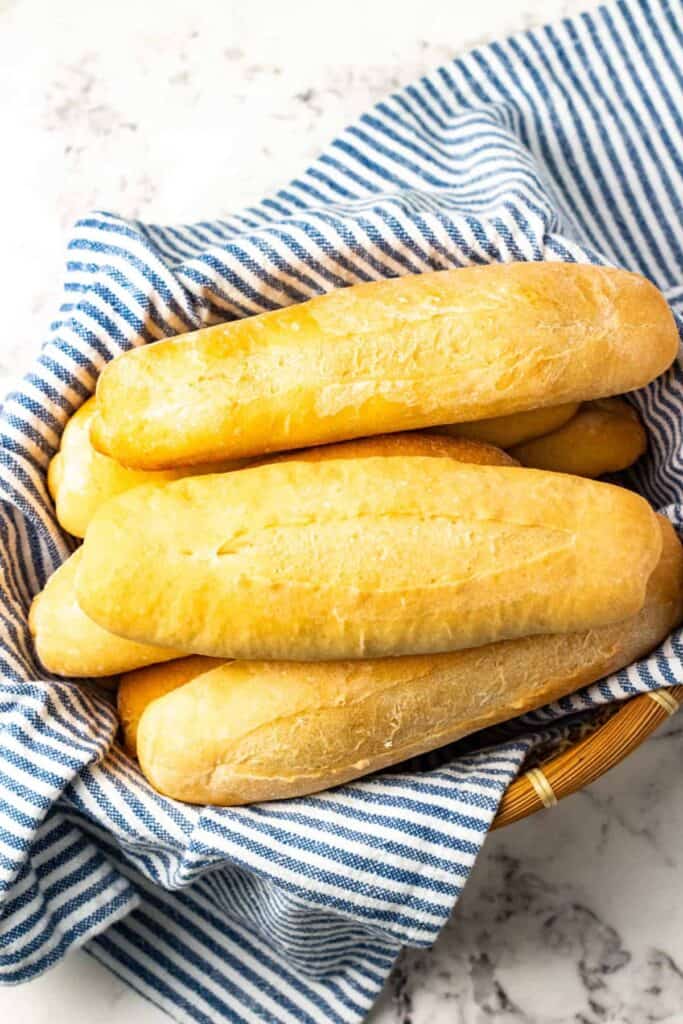
I started to ask if you could think of anything more homey, or aromatic than walking into a kitchen smelling of warm, yeasty, homemade, freshly baked bread, i.e. homemade Italian sub rolls. Then I realized, that for a generation or more, depending on the lifestyle you’ve enjoyed, it’s possible that this most pleasurable event is still on your horizon!
Whether you recall the happy memories of fresh-out-of-the-oven bread oozing warm salty butter over the edges that your mother or grandmother made, or you are ready to embark on this rewarding journey, you’re going to love this recipe on how to make Italian sub rolls.
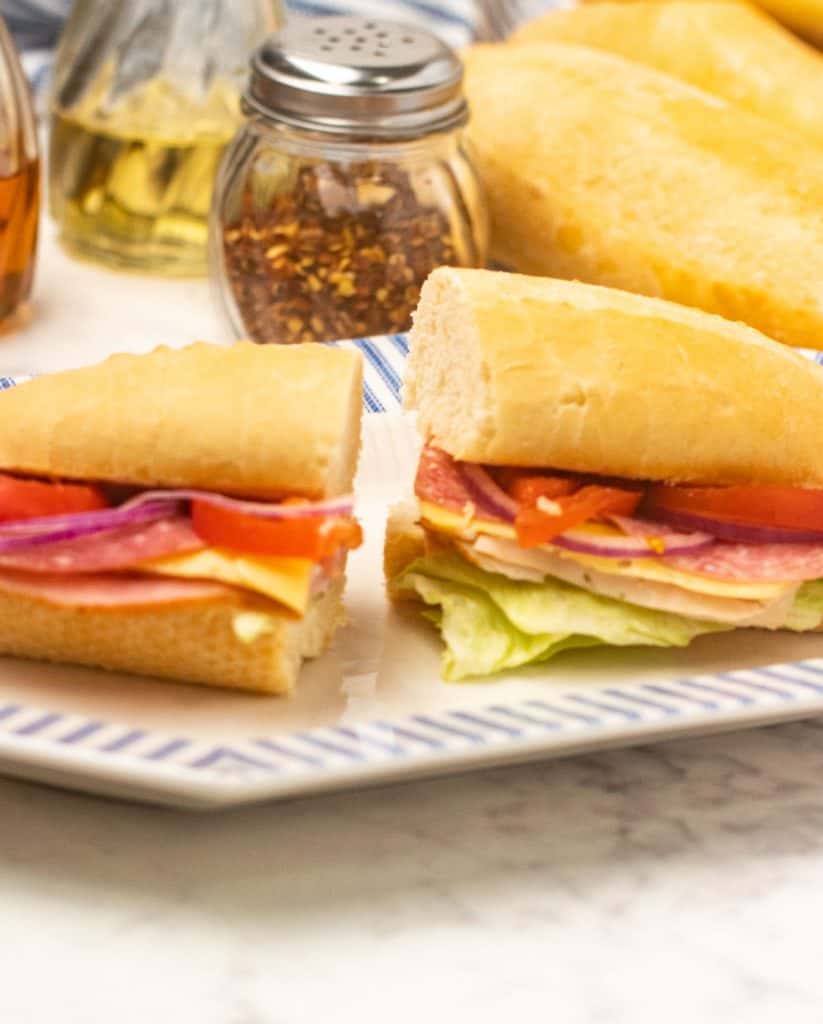
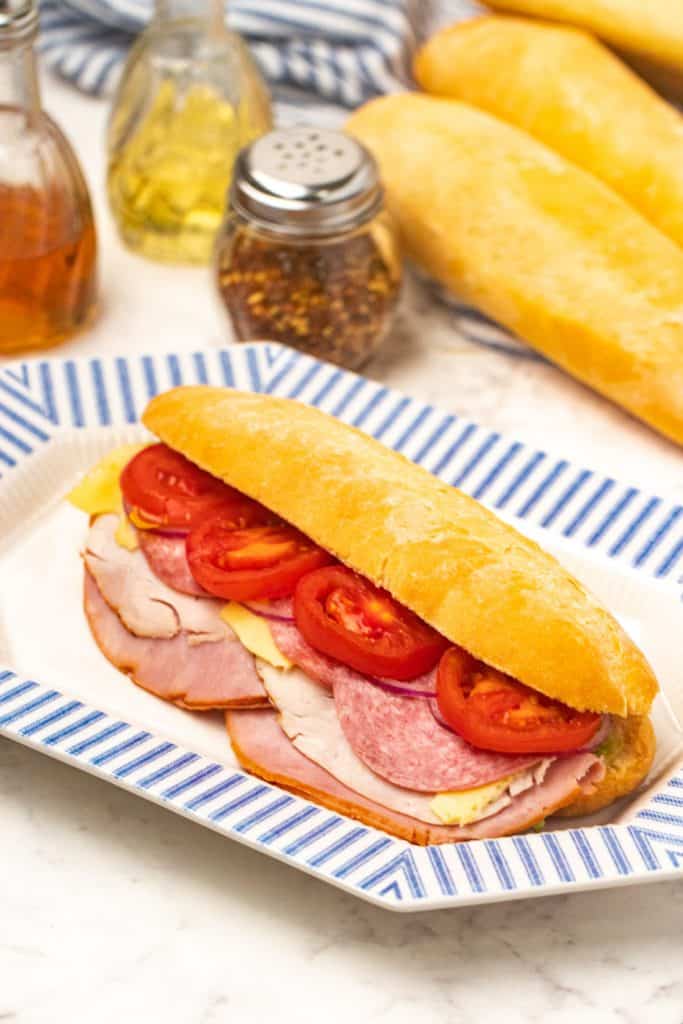
It is the perfect vessel to hold tender salami, capicola, provolone cheese topped with crisp fresh vegetables, and your choice of condiments – Publix subs are no match for this from scratch bread recipe!
Bonus! When your family or friends say that you made the best sandwich they’ve ever had and that the bread is just amazing, you’ll have the satisfaction of saying you made it from scratch and enjoy the shocked looks on their faces!
One heavenly mouthful, and you’ll truly appreciate this recipe on how to make a homemade sub roll!
IN A HURRY? CLICK ON THESE LINKS TO TAKE YOU WHERE YOU WANT TO GO.
Why You’ll Love This Crusty Italian Sandwich Roll Recipe
- Makes amazing sandwiches
- It is the perfect texture for au jus style dipping sandwiches
- Easy homemade bread with a stand mixer
- Leftover rolls make great homemade croutons
Equipment Needed To Make Italian Sub Rolls
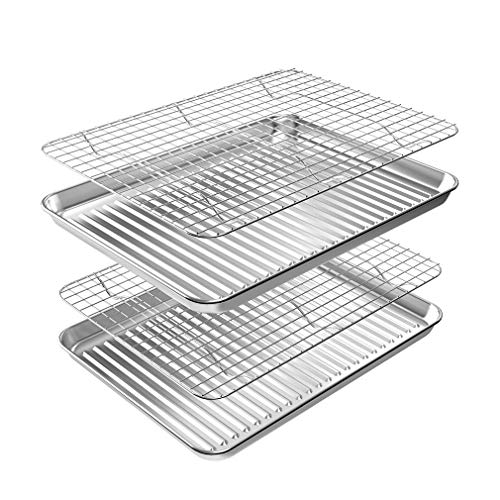
- Baking Sheet
- Rolling Pin
- Stand Mixer
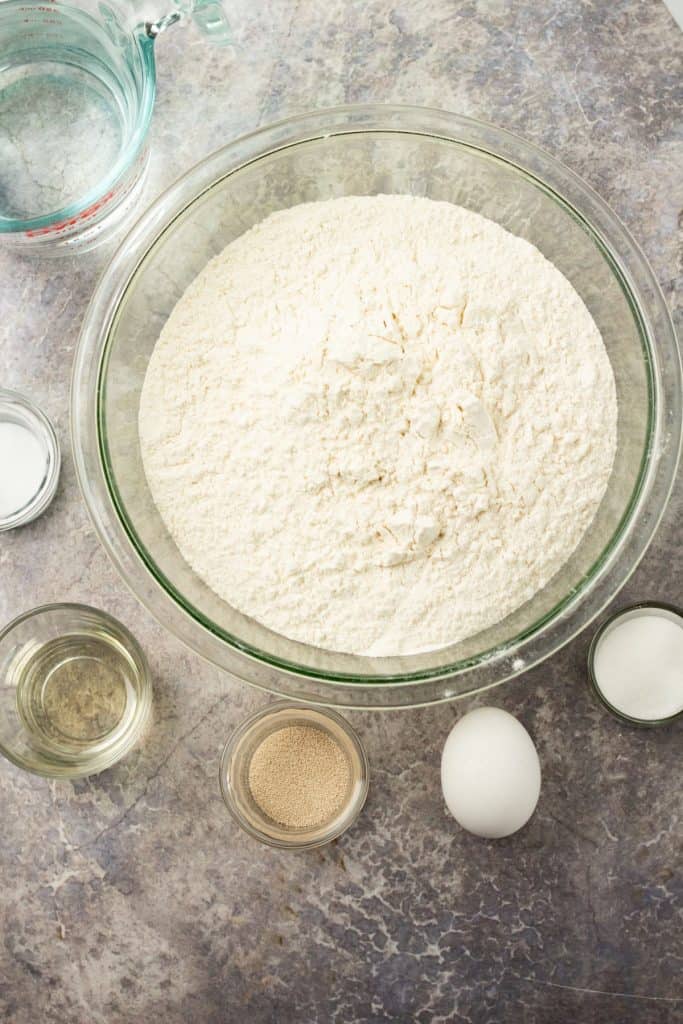
Ingredients For Your Homemade Italian Sub Rolls
- Bread Flour
- Salt
- Yeast
- Water
- Vegetable Oil
- Egg
- Granulated Sugar
How To Make Crusty Italian Sandwich Sub Rolls
- In the bowl of a stand mixer, combine flour, salt and yeast.
- In a separate large bowl, whisk together water, oil, egg and sugar until the sugar dissolves.
- Using a dough hook with mixer set to low speed, slowly add the liquid mixture into the dry mixture, mixing until thoroughly combined and dough is starting to form. Increase speed to medium until dough becomes smooth. You can add a bit more flour if needed but be careful not to add too much.
- Transfer dough to a lightly floured surface and knead by hand until dough becomes a smooth ball. Add more flour as needed to decrease stickiness but not make too dry.
- Spray two baking sheets with a non-stick cooking spray. Place rolls on sheets, approx. 3-inches apart. Cover with greased plastic wrap and allow to rise in a warm area until doubled (approx. 40-minutes.
- Preheat oven to 350°.
- After dough has risen, cut a slash down the center of each with a very sharp knife or a razor blade.
- Bake in preheated oven for approximately 30 min. Should be lightly browned. Cool on baking rack before cutting.
- Store in an airtight container.


What to Serve/Pair with Your Italian Sub Rolls
- Slow-Cooked Italian Chuck Roast With Pepperoncini
- Homemade Deep Fried Potato Slices
- Dill Pickle Spears
- Easy Refreshingly Sweet Cocktails
- Air Fryer Sweet Potato Fries
Italian Sandwich Sub Roll FAQs
How do you store homemade Italian sub rolls?
Big Tip! Make sure rolls are completely cooled, then seal in an airtight bag. Sub rolls that are well-wrapped can be stored at room temperature for several days.
For much longer storage, wrap individually and freeze in an airtight container. Use sub rolls within three months for optimum freshness. Don’t worry, if frozen properly, Italian sub rolls can remain frozen for quite a long time at 0°F.
Is an Italian Sub Roll different from a Hoagie Roll?
Here’s the easy-peasy, very breezy, please don’t squeeze me, explanation for the nation…whew! difference between the “sub” and “hoagie.”
In the simplest terms, a hoagie is a classic Italian-style sandwich that is also a submarine sandwich. This long roll gets its name from the similarity of shape to a submarine, thus a “sub.”
The submarine sandwich consists of whatever ingredients appeal to your buds, cold or hot. Traditionally, a hoagie is synonymous with a classic Italian meat/ingredient sandwich, served cold on a sub roll.
This distinction is so slight that the difference may only matter to…hmm, we’re not sure! We eat these delicious homemade Italian sub roll sandwiches regardless of what they are called!
How do I keep your Homemade Italian Sub Roll from becoming soggy when I use it for lunches or outings?
Many cooks swear that adding a fatty condiment layer like mayonnaise or garlic aioli will help to ward off the sog factor. This helps to an extent, but all condiments contain moisture and will eventually affect an Italian sub roll sandwich when it is made and wrapped for later.
The best way to keep sandwich ingredients from diminishing the wow factor of your Italian sub roll’s soft, chewy center is to lightly toast before building your sandwich.
If you tend to be a die-hard and don’t want to change the texture of your Homemade Italian sub rolls with toasting, here are a couple of other tips for the ultimate Italian sub:
- Use cheese or meat slices directly next to the bread
- Rest onions and deseeded tomato slices on a paper towel
- Thoroughly pat dry vegetables like lettuces, onions, or herbs
- Put condiments on meats or cheeses
- Take drained pickled condiments in a plastic snack bag, adding later
How do I stop my Italian sub roll from getting soggy, especially if I pair it with my yummy Slow-Cooker Italian Beef with Pepperoncini recipe?
Because we know drip beef and shredded meats are so wonderful on these homemade Italian sub rolls, we also know that the soft, sumptuous center will soak up extra juices like a sponge. If you are treating the fam or friends with an awesome au jus and sandwich, besides draining your beef well, there’s another great way to add a little (or a lot) more love, with melted cheese.
Sprinkle shredded cheese or provolone slices on the split sub rolls and melt under the broiler until the cheese is just the right gooey goodness per your taste!
If anyone is a sans the cheese type, a light toasting with a thin layer of butter and a touch of garlic only adds to the warm and aromatic nuances of the sandwich and helps provide a moisture barrier.
How can I make this recipe if I don’t have a stand mixer?
You sure can make these rolls without using a stand mixer and dough hook. For centuries, bakers have kneaded dough by hand. However, the mixer and dough hook does make the process quicker and easier.
Often, I will still knead my dough by hand simply because I like the process. There is just something peaceful and rhythmic about the process of kneading dough and feeling it change texture as you work. But, it can also be tiring and stressful to your hand as you get older. If you have the means to do so, invest in a good stand mixer with a dough hook attachment.
This is the mixer I use and love for all my baking and cooking needs. I like the fact that it has the lift bowl which I think helps keep it from wobbling when mixing heavier doughs. nd, it comes in some pretty colors. I have the retro Jadeite green color, which I don’t think they make anymore. I’ve had this one about 10 years or more. These mixers last forever. I actually own two of them. My first one I bought over 20 years ago and used in our restaurant for daily baking. Still runs great. But, I just had to have my Jadeite one!
Helpful Items for Baking Bread
KitchenAid KP26M1XOB 6 Qt. Professional 600 Series Bowl-Lift Stand Mixer – Onyx Black


Full Recipe for Homemade Italian Sub Rolls
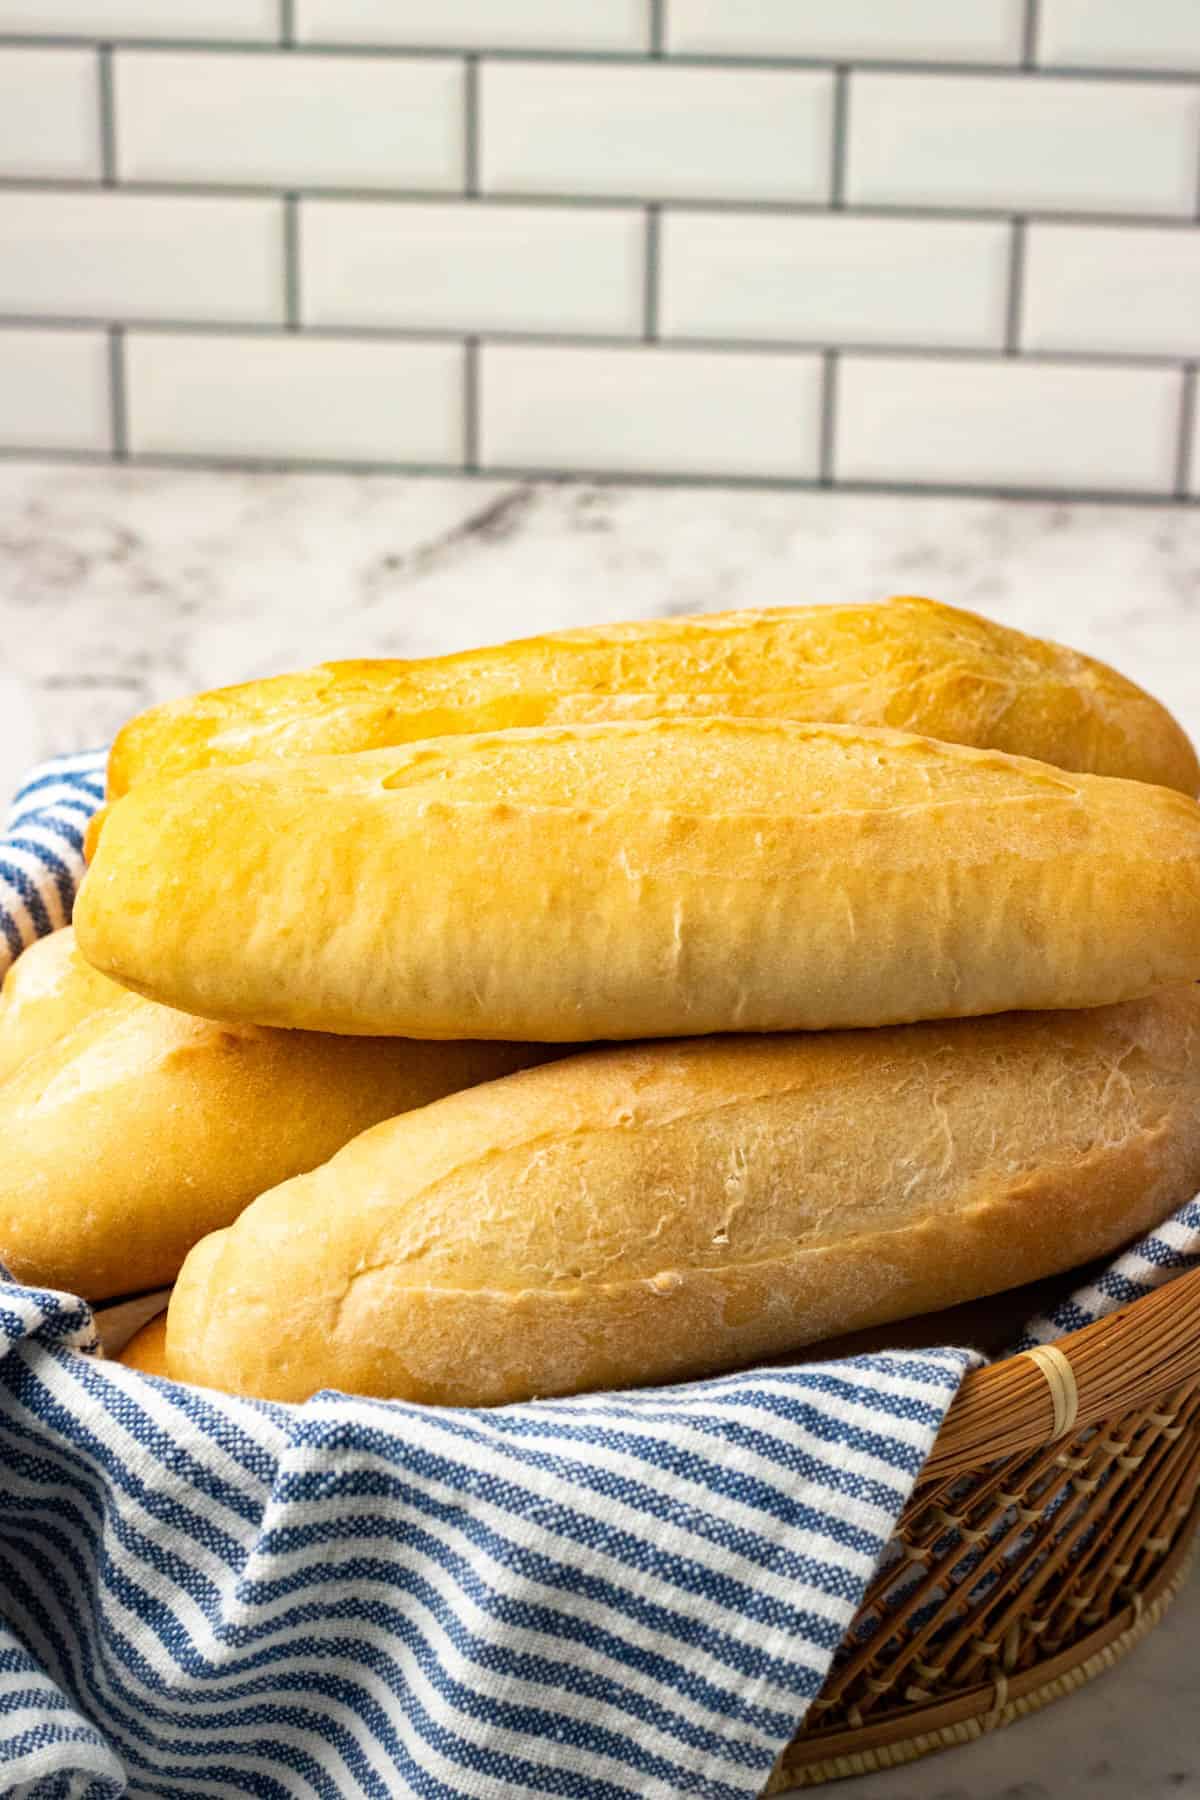
Homemade Italian Sub Rolls
Equipment
- baking sheet, rolling pin, stand mixer
Ingredients
- 5 c Bread Flour
- ¾ tsp Salt
- 2 c warm water
- 4 tsp dry yeast
- 3½ tbsp vegetable oil
- 1 lg egg (room temperature)
- 4½ tsp granulated sugar
Instructions
- In the bowl of a stand mixer, combine flour, salt and yeast.
- In a separate large bowl, whisk together water, oil, egg and sugar until the sugar dissolves.
- Using a dough hook with mixer set to low speed, slowly add the liquid mixture into the dry mixture, mixing until thoroughly combined and dough is starting to form. Increase speed to medium until dough becomes smooth. You can add a bit more flour if needed but be careful not to add too much.
- Transfer dough to a lightly floured surface and knead by hand until dough becomes a smooth ball. Add more flour as needed to decrease stickiness but not make too dry.
- Place dough into a large greased bowl, turning once to grease top. Cover bowl with plastic wrap or a clean towel. Allow to rise in a warm place until doubled in size (approx. 30-45 min.)
- Transfer dough to a clean, lightly floured surface and divide into eight equal pieces. Fold, roll and form each piece into an approx. 8-inch roll shape.
- Spray two baking sheets with a non-stick cooking spray. Place rolls on sheets, approx 3-inches apart. Cover with greased plastic wrap and allow to rise in a warm area until doubled (approx. 40-minutes.
- Preheat oven to 350°.
- After dough has risen, cut a slash down the center of each with a very sharp knife or a razor blade.
- Bake in preheated oven for approximately 30 min. Should be lightly browned. Cool on baking rack before cutting.
- Store in an airtight container.
Nutrition







This recipe made the perfect hoagie/grinder rolls! I was so excited I could literally start the process in the afternoon and have the rolls ready for dinner (vs many other recipes that require an overnight starter). It reminded me of the hoagie rolls we used to enjoy back in Philly. I’ll never buy them again, this was easy and came out perfect. I might try using a little whole wheat flour for flavor next time, but hoagie rolls are supposed to be a plain kind of roll and the texture was just perfect.
Thank you. So happy you enjoyed them.
I just made these for dinner tonight and made our own subs instead of ordering them. These were great, so much better than any bought sub rolls. I’m glad I tried them. Easy to make and no additives.